In the second part of our two-part blog, now that we have learnt how to use Google Tag Manager (GTM) effectively, we will be discussing the implications of not complying with GDPR and how you can use Tag Manager’s consent tools to ensure tags are being fired in a GDPR compliant way.
The Implications of not complying with GDPR
Under GDPR, organisations who fail to comply and/or suffer a data breach could face a fine. In the most serious cases, this fine could be up to 4% of a company’s annual turnover. 1
Eek. That’s a hefty fine for an easy fix!
What is Cookiebot?
Cookiebot consent management platform (CMP) is a plug-and-play compliance solution built around an unrivalled scanning technology that detects and controls all cookies and trackers in use on a website, and automatically manages end-user consents. 2
Think of it as a bouncer who denies entry for data collectors, such as Google Analytics, based on the user’s preferences…

It enables automated compliance with global data privacy laws like the EU’s GDPR, California’s CCPA/CPRA, Brazil’s LGPD and many others.
How to hook up Google Tag Manager consent tools with Cookiebot
We’ve put together a step-by-step guide to help you through the process (with some handy screenshots attached).
- Start by heading over to “Templates” on the left-hand side of the GTM dashboard and install the “Cookiebot CMP” template by cybotcorp, the creators of Cookiebot.

Once in the templates area, click “Search Gallery”, and within the drawer that slides out, click the search icon and type in “cookiebot”

- Click the one labelled “Cookiebot CMP”.
- Review the permissions it requires and click “Add to workspace”.
The template simply adds the required tags and triggers to interact with Google’s consent tools built into Google Tag Manager. 3
Adding the Cookiebot tag
- Click “Tags” on the left.
- Then click “New” on the Tags card that is shown.

- The drawer will slide out which requires you to add a “Tag Configuration”

- Clicking this allows you to select from a list of default tags.
- Seems as we’ve imported the Cookiebot tags from the template, a tag named “Cookiebot CMP” should exist under “Custom”.
- Clicking this asks you for your “Cookiebot ID”. Head over to your Cookiebot dashboard and find the field labelled as “Domain Group ID” (usually found on the “Your scripts” tab).
- Back on Google Tag Manager, click “Choose a trigger” and select “Initialization – All Pages” to ensure the Cookiebot script runs before every other tag.

Editing existing and creating new tags
With Cookiebot set up and installed, we now need to edit any existing tags, or create new ones . We do this by telling the tag which consent checks to listen out for.
These options are under “Advanced Settings” > “Consent Settings” on every tag. All the default tags Google Tag Manager provide come preconfigured, so changes are not needed. But 3rd party tags require you to decide which consent checks are required.

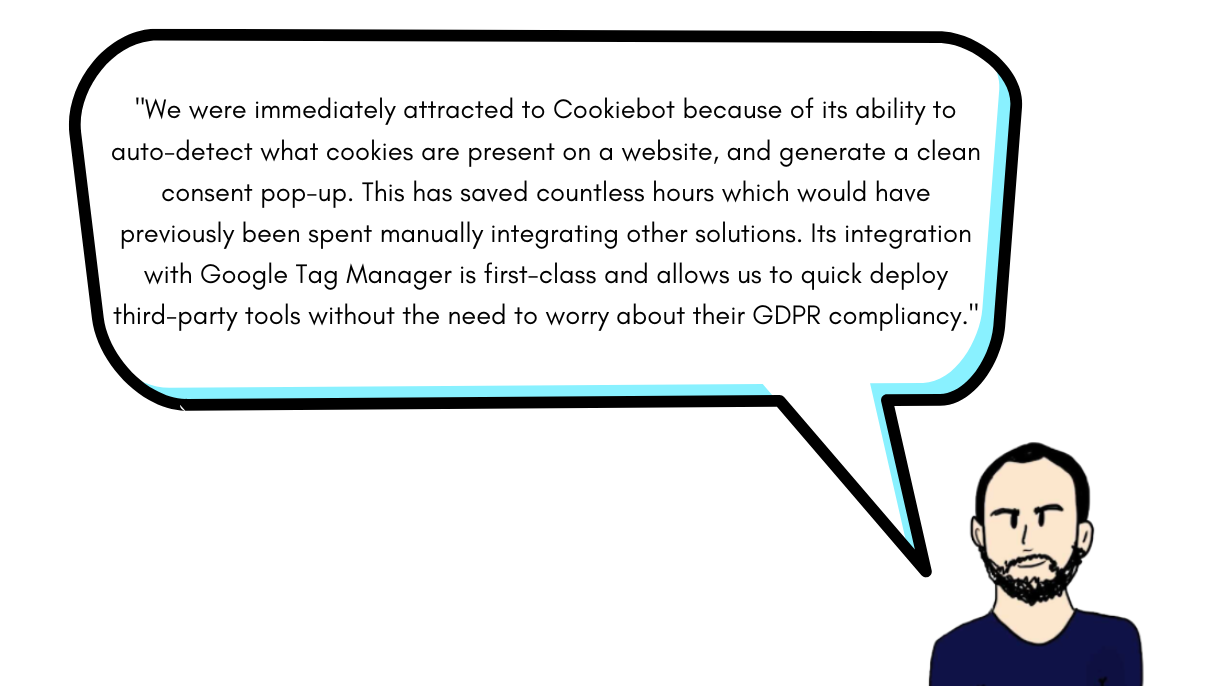
Our Senior Developer has shared his thoughts on how Cookiebot has helped us to make our client’s website GDPR compliant:

We audit Google Tag Manager as part of our CRO package. This is to ensure tags are fired correctly and the data that you receive, whether through Google Analytics, Facebook ads, live chats, is accurate and collected in a GDPR compliant way. Get in touch today for more information on how we can help.
References
1 https://www.itgovernance.co.uk/dpa-and-gdpr-penalties
2 https://www.cookiebot.com/en/about/?sitelink=eng-about
3 https://support.google.com/tagmanager/answer/10718549?hl=en
Start optimising your website
Book your free 45min performance review
2/4 Slots available


